Davide Capponi photography

Photographic art by Davide Capponi

Posts tagged ‘tutorial’

New tutorials on Manfrotto Imagine More

Post WP seconda serie

A new series of four mobile photography tutorials written by me  is now available on Manfrotto Imagine More, the photography inpiration site by the leading tripod and photography equipment manufacturer.

The articles are all available in English and in Italian language, and they are being translated to French and German and later to Japanese, these are the links of those currently available:

English

ABANDONED PLACES WITH YOUR SMARTPHONE

CREATIVE BLUR WITH YOUR SMARTPHONE

LANDSCAPE PHOTOGRAPHY WITH YOUR SMARTPHONE

MOBILE SHOOTING IN CEMETERIES


Previous reviews and tutorials:

URBEX SHOTS USING LUMIE MUSE

TESTING OUT THE KLYP+ ON THE ROAD

CREATIVE EFFECTS: SUGGESTIONS AND APPS

PHOTOS IN BLACK AND WHITE: SUGGESTIONS AND APPS

USING FILTERS AND TEXTURES: SUGGESTIONS AND APPS

PICTORIAL STYLE: SUGGESTIONS AND APPS


 Italian

LUOGHI ABBANDONATI CON LO SMARTPHONE

MOSSO CREATIVO CON LO SMARTPHONE

FOTOGRAFARE PAESAGGI CON LO SMARTPHONE

MOBILE SHOOTING NEI CIMITERI


Previous reviews and tutorials:

SCATTI URBEX CON LUMIE MUSE

PROVA SU STRADA DI KLYP+

CONSIGLI E APP PER EFFETTI CREATIVI

CONSIGLI E APP PER FOTO IN BIANCO E NERO

CONSIGLI E APP PER L’USO DI FILTRI E TEXTURE

CONSIGLI E APP PER LO STILE PITTORICO


German

HANDY-FOTOGRAFIE AUF FRIEDHÖFEN

LANDSCHAFTSFOTOGRAFIE MIT IHREM SMARTPHONE

Previous reviews and tutorials:

TEST DES NEUEN KLYP+ AUF EINER FOTOTOUR


French

PHOTOGRAPHIER AVEC UN PORTABLE DANS LES CIMETIÈRES

Previous reviews and tutorials:

TEST DU KLYP+ SUR LA ROUTE

UTILISATION DE FILTRES ET TEXTURES : SUGGESTIONS ET APPS

STYLE PICTURAL : SUGGESTIONS ET APPS


Japanese

絵画的写真スタイル: 撮影アイデアとアプリ

フィルターとテクスチャーを使ってみる:提案とアプリ

Exhibitions!

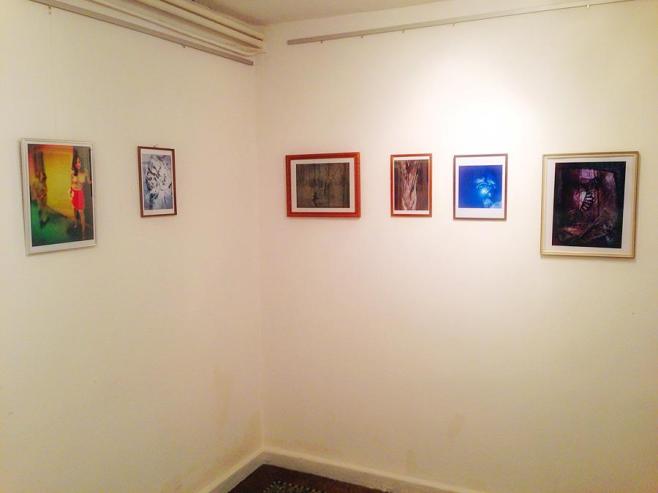
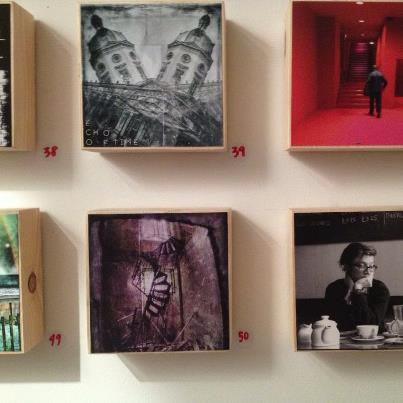
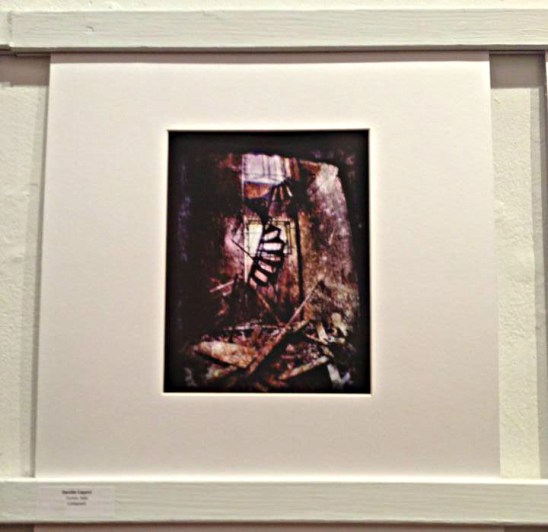
My photo Collapsed has been featured in three exhibitions around the world during the month of December 2012, here are some shots of the photo exposed.
 
 
Collapsed at Bremen
 
Collapsed (at the right end) at the “Galerie OutOfMyMind” in Bremen, Germany as part of the  “Bilder aus dem Telefon – iPhoneografien/THE THIRD WAVE” exhibition of iPhonic art.
 
 
Collapsed in London
Collapsed at the “Unit24 Gallery” in London, UK as part of the Pixel Revolution Exhibition.
 
Collapsed at Berkeley
Collapsed at the “Garden Gate Creativity Center” in Berkeley, California as part of the THE THIRD WAVE exhibition of iPhonic art.


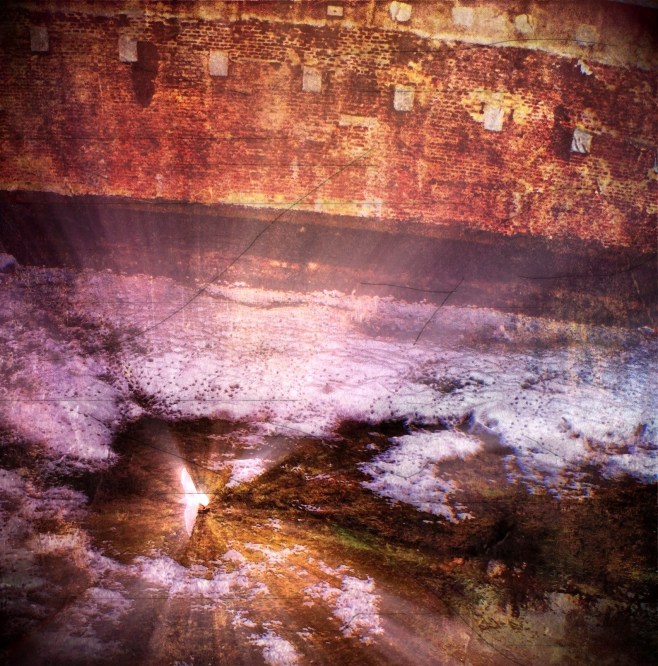
On frozen water – the making of

Many of you have been asking to see the original shot before editing or the sequence of processing steps that brought to the posted image, and here it is.


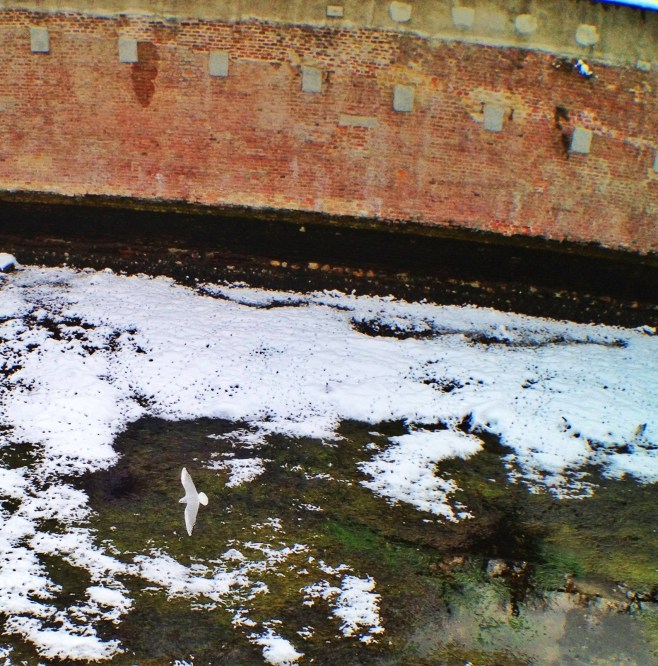
1 – The raw shot

This is the starting shot, it was taken around 1 pm during lunch break on a cold day after snowfall, the weather was cloudy with some sunlight piercing the clouds.

There were seagulls flying on the Naviglio channel in Milano, so to capture them in flight, instead of shooting with HDR Pro app which is quite slow since it does take two shots to create the HDR effect, I used another shooting app called 6×6.  Throughout the shooting session I used an Olloclip wide lens, as can be easily seen by the curved line of the river bank.

Amongst the shots I took I chose this one because the flying seagull can be clearly seen and has a nice vignette of snow around.


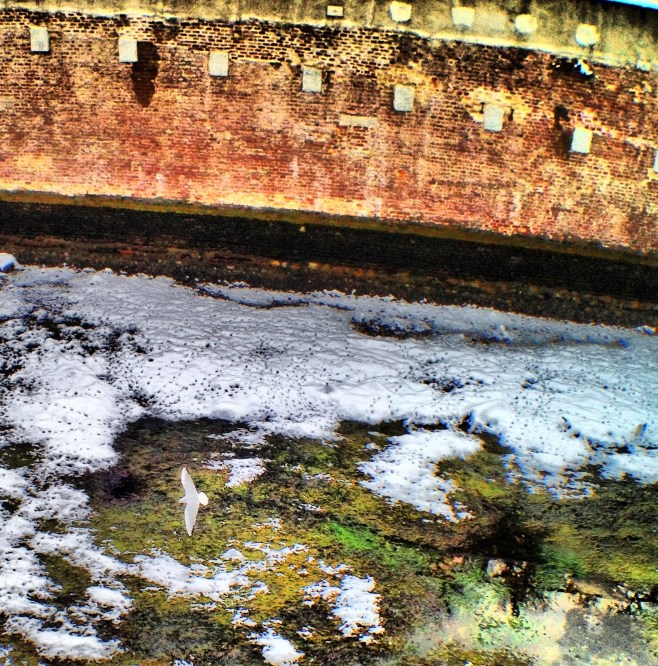
2 – Cropping and basic tuning

I used Snapseed to crop the image so that the subject (the seagull)  was larger and better positioned.

After that I tuned contrast, brightness and saturation.


3 – Dynamic Light

To enhance and dramatize the image I used Dynamic Light, an app that applies many effects but mainly does a HDR-like effect.


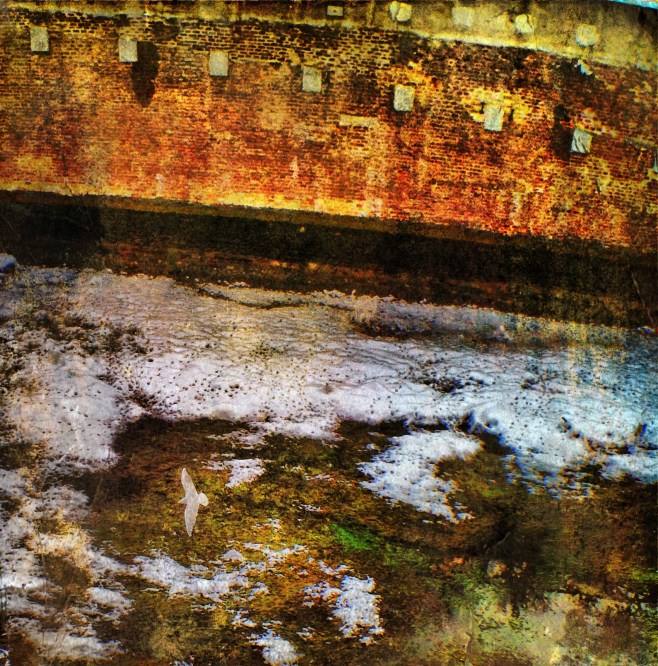
4 – PicGrunger

PicGrunger applies textures to the image in the so-called “grunge” style. I chose warm textures for this image.


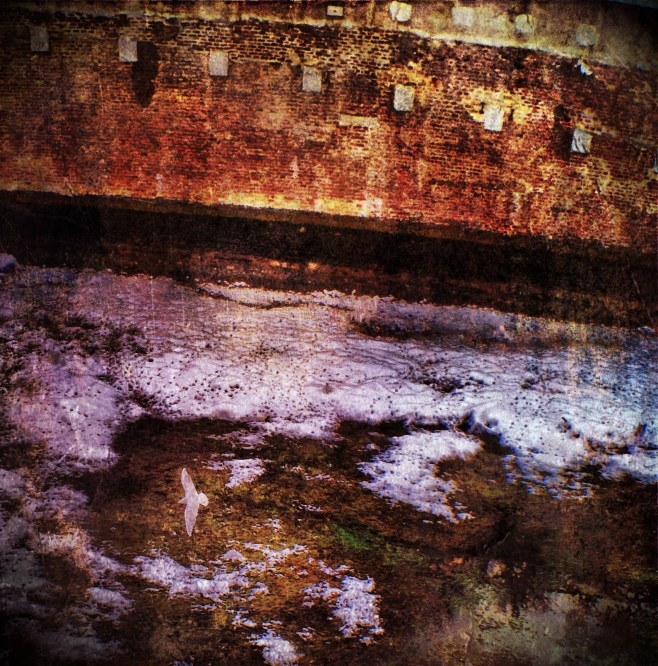
5 – Phototoaster

Phototoaster is a all-round editor that I find very good for final balancing and refining of the image. In this case I mainly corrected the color temperature of the image adding blue and red hues.

In many images my editing chain stops here, and the final image is ready.

Looking at the image, however, you will notice that after all this editing the seagull is almost lost in the image and does not catch the eye of the viewer.

There are different devices you can use to make a subject pop up in an image, for this shot I chose to enhance the image with an app called Rays.


6 – Rays

Rays enables you to add light rays effects to an image. In this case I chose to originate rays from the subject, the seagull.

Rays has however the downside of generating a misty overlay that reduces contrast and colors making the image somewhat dull.


7 – Final image – On frozen waters


To give back “punch“to the image I did some final adjustments to contrast, brightness and saturation with Snapseed.

And this brings us to the final image that you have seen in the previous post.

Hope you enjoyed this walkthrough, it was nice to go back with you at the steps I followed to create this image.